- English
- Español
- Português
- русский
- Français
- 日本語
- Deutsch
- tiếng Việt
- Italiano
- Nederlands
- ภาษาไทย
- Polski
- 한국어
- Svenska
- magyar
- Malay
- বাংলা ভাষার
- Dansk
- Suomi
- हिन्दी
- Pilipino
- Türkçe
- Gaeilge
- العربية
- Indonesia
- Norsk
- تمل
- český
- ελληνικά
- український
- Javanese
- فارسی
- தமிழ்
- తెలుగు
- नेपाली
- Burmese
- български
- ລາວ
- Latine
- Қазақша
- Euskal
- Azərbaycan
- Slovenský jazyk
- Македонски
- Lietuvos
- Eesti Keel
- Română
- Slovenski
- मराठी
- Srpski језик
How To Disassemble And Assemble The Hydraulic Cylinder And What Precautions Should Be Taken?
2024-12-30
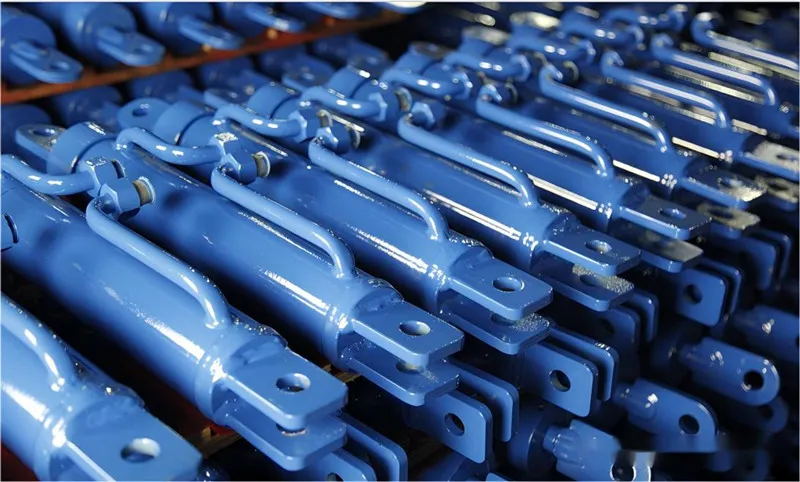
The disassembly and assembly of hydraulic cylinders is a process that requires careful operation and involves multiple steps and precautions. To ensure the safety and efficiency of the disassembly and assembly process, it is necessary to follow the correct steps.
Disassembly Preparation
1. Cool Down Fully
The hydraulic cylinder will generate high temperature during operation. Before disassembling the hydraulic cylinder, you need to wait for the hydraulic cylinder to cool down fully after stopping the running equipment. If disassembly is too early, it may cause safety hazards.
2. Prepare Tools
Prepare the required tools, cleaning agents, lubricating oil, markers, rags, brushes and oil pans (for waste liquid, cleaning agents, and lubricating oil). Before disassembly, check the appearance of the cylinder to see if there is wear, rust, etc., so that targeted operations can be performed during disassembly.
3. Clean The Hydraulic Cylinder
Before disassembling the hydraulic cylinder, clean the dirt on the surface of the cylinder to prevent it from entering the cylinder and affecting its use. At the same time, ensure that the working area is clean and tidy. This is not only conducive to maintaining the hygiene of the machine, but also reduces the interference of oil and dust.
Disassembly Steps
1. Remove the joints on the oil inlet and outlet, and then drain the oil in the cylinder to avoid oil outflow during disassembly.
2. Remove the connectors. Use tools such as wrenches or screwdrivers to separate the pipes and connectors from the hydraulic cylinder. Be careful not to hit directly with a hammer to avoid damage to the machine.
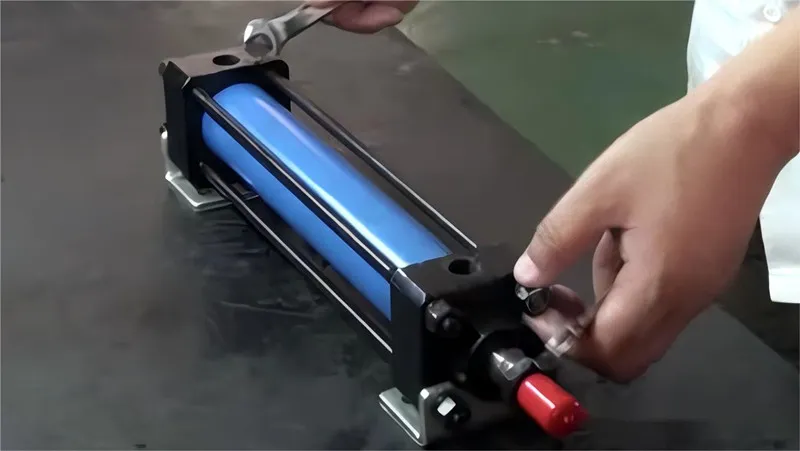
3. Remove the end cover: Use the corresponding tools to remove the end cover. Be careful not to damage the end cover and the gasket to avoid damaging the cylinder or other parts during the disassembly process.
4. Remove the piston rod: Remove the piston rod from the cylinder. If necessary, remove the seals and O-rings in the front and rear directions of the piston rod.
5. Separate the piston: Remove the piston from the cylinder. If there is a tight connection between the piston and the cylinder, choose an appropriate relaxation method based on the working conditions, such as using a handwheel, hammer, etc.
6. Remove the cylinder body: If the cylinder body needs to be removed, use a disassembler to remove the cylinder body.
7. Remove small parts such as seals and O-rings inside the cylinder.
Precautions For Disassembly And Assembly
1. Before disassembly, the hydraulic circuit should be depressurized. Otherwise, when the oil pipe joint connected to the oil cylinder is loosened, the high-pressure oil in the circuit will spray out quickly. When depressurizing the hydraulic circuit, first loosen the handwheel or pressure regulating screw at the overflow valve, etc. to unload the pressure oil, and then cut off the power supply or power source to stop the hydraulic device from running.
2. When disassembling, prevent damage to the top thread of the piston rod, the oil port thread, the surface of the piston rod, the inner wall of the cylinder sleeve, etc. In order to prevent the bending or deformation of slender parts such as the piston rod, use wooden blocks to support balance when placing.
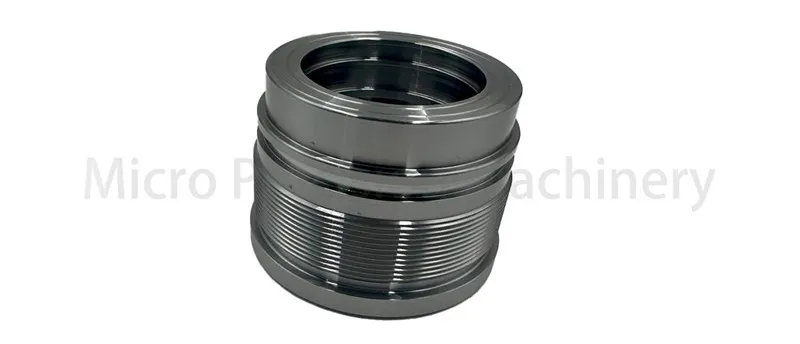
3. Complete the disassembly in sequence. The structures and sizes of various hydraulic cylinders are different, and the disassembly sequence is slightly different. However, it is generally necessary to disassemble in the order of draining oil, removing the cylinder head, and removing the piston or piston rod. When disassembling the cylinder head, special tools should be used for the key or snap ring of the internal key connection, and flat shovels are prohibited; for flange-type end covers, screws must be used to push them out, and hammering or hard prying is not allowed. When the piston and piston rod are difficult to withdraw, find out the reason before disassembling, and do not force them out.
4. Before and after disassembly, prevent the parts of the hydraulic cylinder from being contaminated by surrounding dust and impurities. Disassembly should be carried out in a clean environment as much as possible, and all parts should be covered with plastic cloth after disassembly.
5. After disassembly, carefully check to determine the parts that can continue to be used, can be reused after repair, and must be replaced.
6. All parts must be carefully cleaned before reassembly.
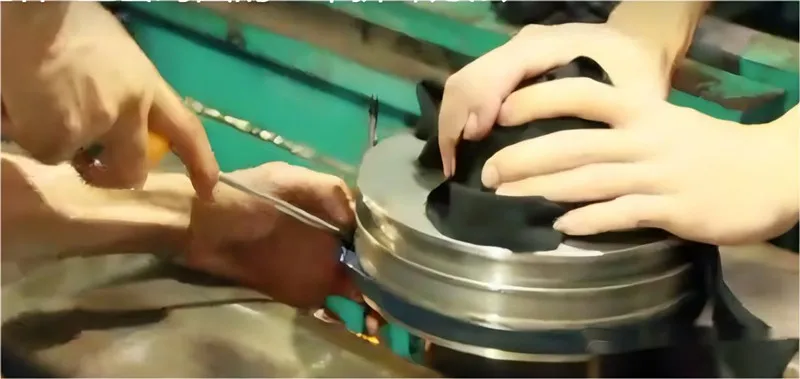
7. Correctly install the sealing devices in various places: When installing the O-ring, do not pull it to the extent of permanent deformation, and do not roll it while installing it, otherwise it may leak oil due to distortion. When installing Y-shaped and V-shaped sealing rings, pay attention to their installation direction to avoid oil leakage due to reverse installation. The lip of the Y-shaped sealing ring should face the oil cavity with pressure, and pay attention to distinguish whether it is for shaft or hole. The V-shaped sealing ring is composed of supporting rings, sealing rings and pressure rings of different shapes. When the pressure ring presses the sealing ring, the supporting ring can make the sealing ring produce a shape and play a sealing role. When installing, the opening of the sealing ring should face the pressure oil chamber; when adjusting the pressure ring, it should be limited to no oil leakage, and it should not be pressed too tightly to prevent excessive sealing resistance. If the sealing device cooperates with the sliding surface, it should be coated with an appropriate amount of hydraulic oil during assembly. All O-rings and dust rings after disassembly should be replaced.
8. After the piston and piston rod are assembled, measure their coaxiality and straightness over the entire length to see if they are out of tolerance.
9. After assembly, there should be no sense of blockage and uneven resistance when the piston assembly moves.
10. When the hydraulic cylinder is installed on the main engine, a sealing ring must be added between the inlet and outlet joints and tightened to prevent oil leakage.
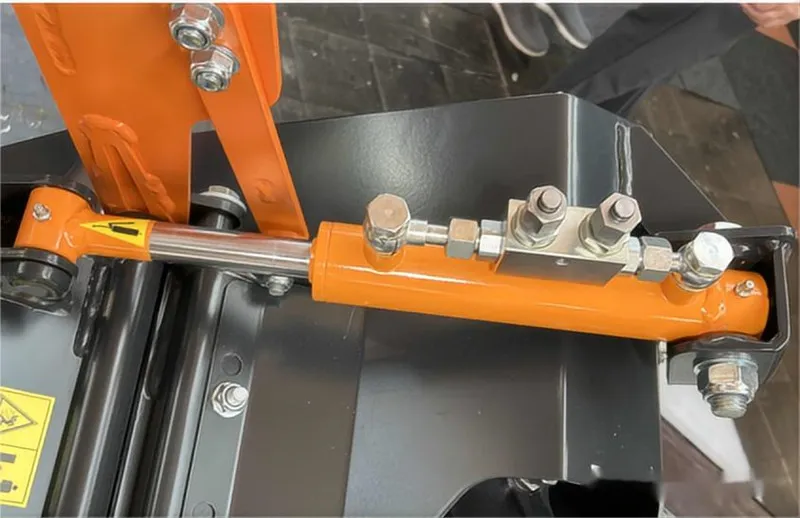
11. After assembly as required, several reciprocating movements should be performed under low pressure to remove the gas in the cylinder.
In Summary
Disassembling and assembling a hydraulic cylinder demands caution and follows specific steps. Before disassembly, let the cylinder cool, prepare tools, and clean it. The disassembly steps include draining oil, removing connectors, end covers, piston rod, piston, and cylinder body, along with small internal parts. Precautions include depressurizing the hydraulic circuit first, protecting parts from damage, disassembling in sequence, maintaining a clean environment, inspecting and cleaning parts, correctly installing sealing devices, checking coaxiality and straightness, ensuring smooth movement, adding sealing rings at connections, and performing low-pressure reciprocating motions to remove gas.


